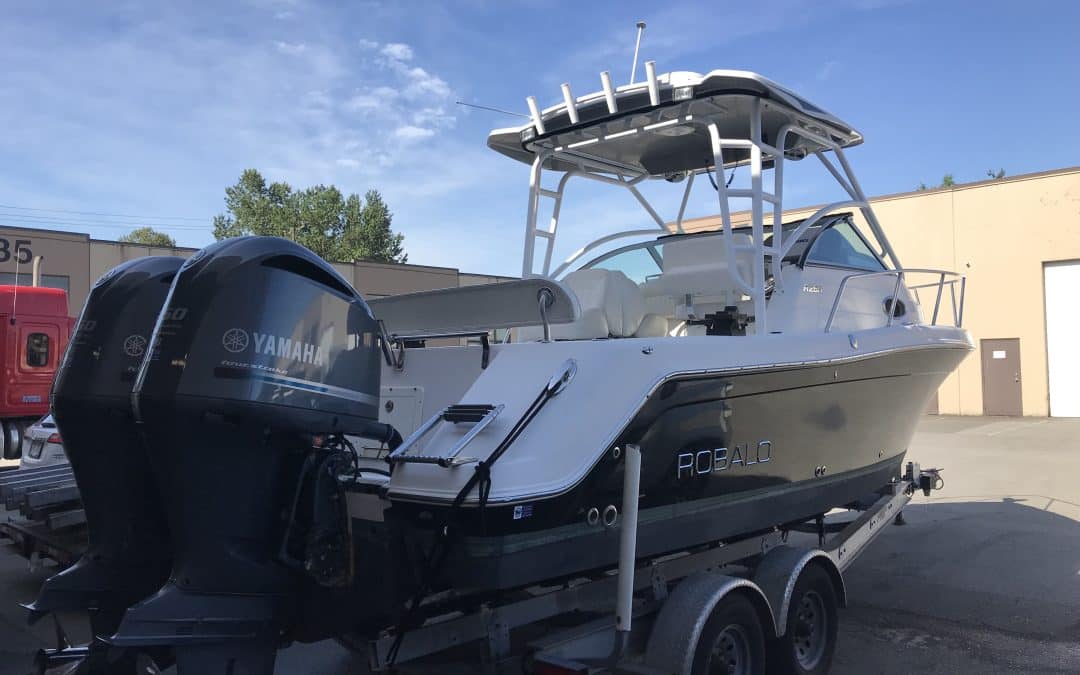
A T-Top is more than just a stylish addition to your boat—it provides shade, space for accessories, and enhanced durability during your time on the water. Installing a T-Top Boat requires planning, the right tools, and attention to detail. In this guide, we’ll walk you through the process step by step, while also showing you how Cedric Marina Ltd in Vancouver can provide a professional solution if you’d rather leave the work to the experts.
Preparation Before Installation
Before you begin installing your new T-Top, taking time to prepare properly will save you frustration later. Careful planning ensures a smoother installation process, a perfect fit, and long-term reliability on the water. From selecting the right model to gathering tools and safety gear, each step matters—so let’s break it down.
Choosing the Right T-Top
The first step is selecting a T-Top that suits your boat. Aluminum options are lightweight and cost-effective, while stainless steel models are more durable but heavier. You’ll also need to decide between a fixed design for maximum stability or a folding design for easy storage.
Measuring Your Boat
Before buying, measure your center console, overall deck width, and clearance height. Ensuring proper fit avoids costly mistakes.
Gathering Tools & Materials
You’ll need a drill, marine-grade bolts, sealant, backing plates, wrenches, measuring tape, and safety gear. Make sure you have everything on hand before you start.
Safety Considerations
Since installation involves drilling into fiberglass or aluminum, wear protective glasses and gloves. Working safely ensures accuracy and reduces risks
Positioning and Marking
Careful positioning is crucial. Align the T-Top with your center console, ensuring it’s symmetrical and properly centered. Mark all mounting points using chalk or pencil. Double-check measurements before proceeding. Once drilled, mistakes are much harder to correct.
Drilling and Mounting the Base
With markings confirmed, drill pilot holes using the correct bit size. Apply marine-grade sealant to each hole to prevent water intrusion. Place the base plates over the holes and secure them with bolts. For added strength, use backing plates underneath the deck, especially for fiberglass boats.
Assembling and Securing the Frame
Attach the vertical supports to the mounted bases, ensuring they are aligned. Connect crossbars and the top frame, tightening bolts evenly to avoid stress points. A level tool will help confirm proper alignment.
Attaching the Canvas or Hard Top
For canvas tops, stretch the fabric across the frame and fasten securely. For hard tops, bolt or clamp the panels in place. Make sure all fasteners are weatherproofed to handle marine conditions.
Finishing Touches and Accessories
Once the top is secure, you can install rod holders, lights, antennas, or speakers. Electrical wiring should be routed through the frame when possible to maintain a clean appearance. Use waterproof connectors to prevent corrosion.
Post-Installation Checks and Maintenance
After your first outing, check all bolts and fasteners for tightness. Over time, vibrations and saltwater can loosen fittings. Clean your T-Top regularly with freshwater and marine-safe cleaners to reduce corrosion. Seasonal inspections will keep it in top condition for years.
Professional Installation in Vancouver
While many boat owners enjoy the DIY challenge, installing a T-Top can be complex and time-consuming. At Cedric Marina Ltd in Vancouver, we specialize in professional marine installations, ensuring your T-Top is mounted securely, aligned perfectly, and ready for the toughest conditions. Our expertise saves you time and guarantees peace of mind.
Conclusion
A T-Top adds function, comfort, and value to your boat. With the right tools and preparation, you can install one yourself by following these steps. But if you’d like expert help, Cedric Marina Ltd in Vancouver offers professional T-Top installation services that let you focus on what you love most—enjoying your time on the water.


